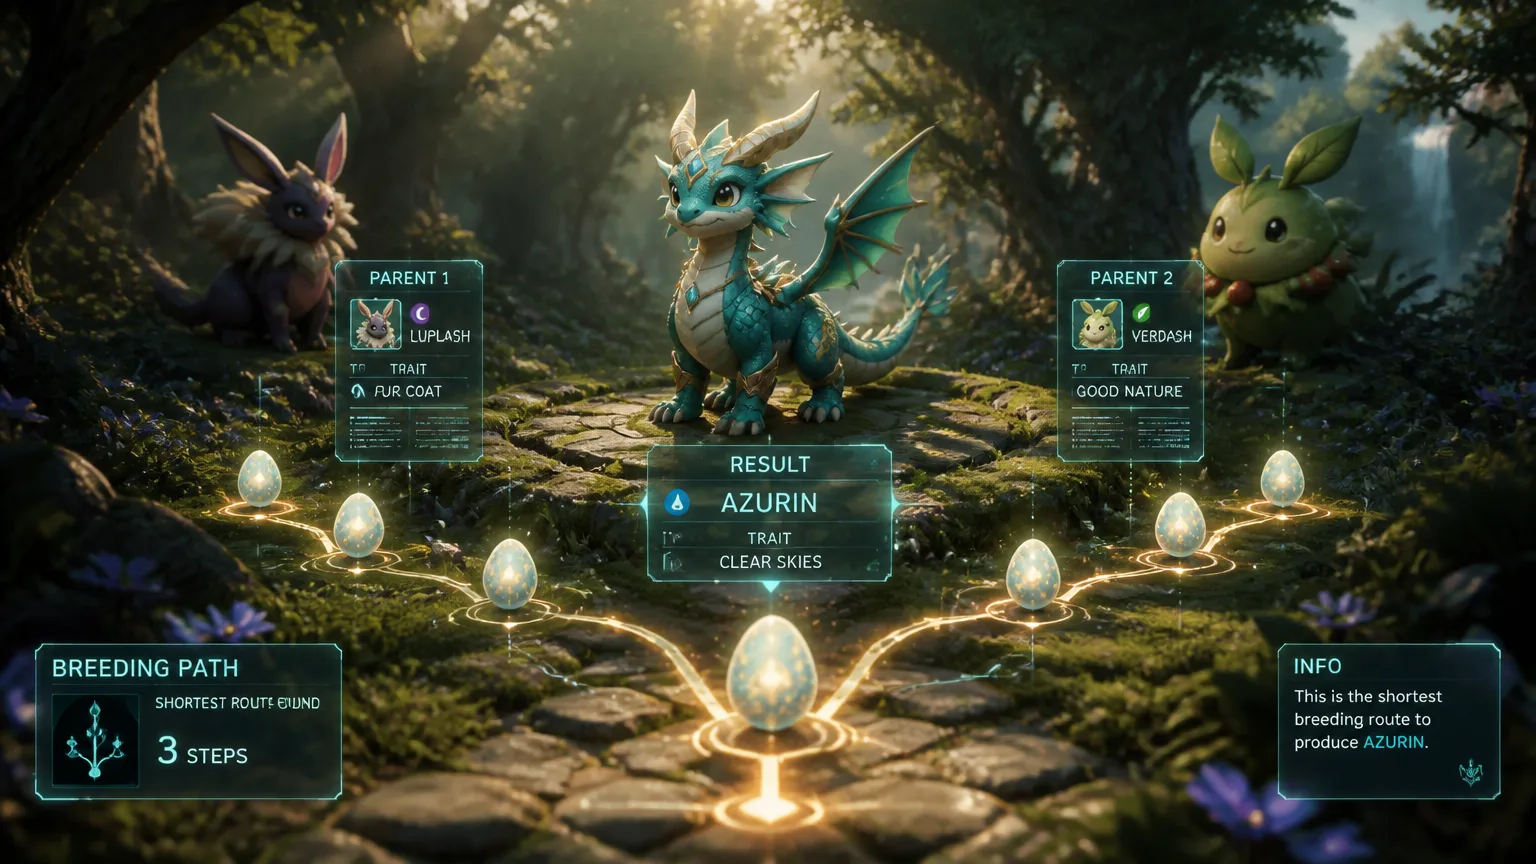
Learn how to find the shortest breeding path in Palworld: start with your target Pal, compare possible parent pairings, and plan each step clearly.
🐾 Palworld Shortest Breeding Path
Breadth-first search · finds the minimum-step breeding chain
BREEDING_DATA object. Sources: palworld.wiki.gg · Host HavocTable of Contents
A Palworld breeding calculator can help you find a short, workable route from the Pals you already have to the Pal you want. Enter your target and available starting parents, then use the results to compare possible sequences of pairings. The aim is not simply to find a route on screen, but to identify one that fits your collection and that you can follow.
The answer depends on which Pals you list as available and on the breeding data and settings the calculator uses. A route that appears shortest may not suit your situation if it relies on parents you do not have. Treat the result as a guide to evaluate, not a guarantee that one route is best for every player. It also helps to distinguish the route with the fewest breeding steps from the route that is easiest for you to complete.
What “shortest path” means
A breeding path is the sequence of parent pairings used to reach a target Pal. Each step combines a pair of parents to produce a Pal that may become a parent in a later pairing. If a route includes intermediate Pals, you need to account for those pairings as well as the final one that leads to your target.
The shortest path usually means the route with the fewest breeding steps shown by the calculator. But fewer steps do not always make a route easiest to complete. A short route may rely on parent Pals you do not have, while a longer route may start with Pals already in your collection and require fewer hurdles for you.
When comparing routes, look beyond the step count. Check which parents are needed at each stage and whether you can access them or produce them through earlier pairings. The most useful route is not automatically the one with the fewest steps; it is the one that offers a clear, workable sequence from your available Pals to the target.
Choose a calculator that fits the task
The right calculator should make it easy to see how your available Pals could lead to your chosen target. Before using one, check whether it includes the target you want and can show the parent pairings along the way. A result that gives only a final answer may be harder to assess if you need to produce intermediate Pals first.
Look for clear inputs, too. You should be able to tell which field is for the target and how to list the Pals you can use as starting parents. Calculator interfaces and options can vary, so take a moment to understand what the tool is asking before you calculate.
Most importantly, choose a tool that lets you inspect the route, not just its step count. You should be able to follow each pairing, see which Pal it produces, and understand what the next step requires. If the route is difficult to read or does not show the intermediate pairings, it may be hard to judge whether it fits your collection. Clear inputs and visible steps help you decide what the result requires before you act.
Gather the information to enter
Before calculating, decide which Pal you want to breed and identify the Pals you can use as starting parents. The target gives the calculator a clear endpoint; your starting roster helps it find routes that relate to your collection rather than relying on parents you do not have.
Make a note of each available Pal’s name and check the spelling or selection carefully when entering it. Similar-looking names or an incorrect choice can change the route the calculator returns. Include only Pals you can actually use as starting parents, and be clear about whether a Pal shown later in the route is already available or would need to be produced through an earlier pairing.
Check the chosen calculator’s instructions and options before you run the calculation. Tools may ask for information in different ways, so do not assume every calculator has the same fields or settings. If an option affects which Pals count as available, follow the tool’s explanation and select the choice that matches your situation. Clear, accurate inputs make it easier to assess whether the resulting path is relevant to your breeding plans.
Set the target and starting collection
Once you know which Pal you want, select it as the target in the calculator. Then enter the Pals you can use as starting parents, following the tool’s instructions for adding or selecting them. Calculator interfaces differ, so check which fields or options represent your target and your available collection before running the calculation.
Accurate inputs help the calculator return a route that fits your situation. Include the starting Pals you can actually use, and check each selection against your roster. If you omit a Pal, the calculator may not consider a useful route that depends on it. If you select a Pal by mistake, the result may rely on a parent you do not have and be unusable as shown.
Before moving on to the route, review the entries:
- Confirm that the selected target is the Pal you intend to breed.
- Check that your starting-parent list includes the Pals you can use and does not include mistaken selections.
- Review any tool-specific options that affect how the calculator treats your available Pals.
A quick check can prevent you from comparing routes built around the wrong endpoint or starting collection.
Read the route one pairing at a time
A displayed breeding path is easier to assess when you follow it in order, from the first pairing to the target. Start by finding the earliest step whose parent Pals are both in your available collection. That is the first pairing you can carry out without relying on a Pal produced earlier in the route.
Note the Pal that pairing produces. In the next step, check whether that Pal appears as a parent alongside the other Pal listed. If so, the result of the first pairing feeds into the next one. Continue the same way: identify the required parents, note the resulting Pal, and see how it is used in the following pairing. Repeat until the route reaches your chosen target.
As you read, keep the sequence clear. A Pal shown as a parent in a later step may need to be produced first; it is not necessarily part of your starting collection. If a pairing requires a parent you do not have and the route has not shown how to produce it, pause and check whether you missed an earlier step or whether the route depends on an unavailable Pal. This step-by-step check helps you tell a complete, usable path from a list of pairings that is difficult to follow.
Compare the shortest route with the practical route
Once you have followed the pairings, check whether the route with the fewest steps is one you can actually use. Start with its first pairing: do you already have both parent Pals? Then review each later step and note which intermediate Pals you would need to produce before moving on.
Compare that route with any alternatives the calculator shows. A route with more steps may fit your collection better if its first parents are already available. A shorter route may be easier to complete if you already have the parents it requires. The number of intermediate Pals matters, too: count which results you would need to produce and use in later pairings, rather than judging by the step total alone.
For each option, consider:
- Which required parents are already in your starting collection?
- Which parents would need to come from earlier pairings?
- How many intermediate results must you produce before reaching the target?
Use those answers to decide which sequence is more manageable for you. There is no universal best route: the right choice depends on your available Pals and circumstances. Treat the shortest result as a useful comparison, then choose a route whose parent requirements and intermediate steps you can follow.
Check the calculator’s assumptions
Before relying on a route, check that the calculator’s breeding data and settings match your game context. A tool may use data or options that differ from what you expect, so confirm what it is using rather than assuming every result applies to your situation.
If the calculator offers settings that affect its results, read their descriptions and choose the options that reflect your circumstances. Also check whether the tool explains the data behind its pairings or gives you a way to review each step. The goal is not to assume that a particular pairing is wrong, but to verify that the displayed route is based on suitable information.
If a pairing seems unexpected, review it before acting. Confirm the selected target and starting Pals, then check the parent pair shown at each step against the calculator’s result. If you still cannot verify the route, compare it with another suitable calculator or consult information you trust before breeding. Treating version or data differences as a reason to check the steps helps you avoid following a path that does not fit your game context.
Common reasons a route does not work
If a route seems unusable, review the inputs and assumptions before relying on it. A few common issues can make a path differ from what you expect:
The wrong target is selected. Confirm that the calculator’s target is the Pal you intend to breed. If the endpoint is different, select the correct target and recalculate.
Your starting roster is incomplete or inaccurate. Compare the listed parents with your collection. Add any usable Pals you left out and remove selections you do not have. Then review whether the route fits your actual starting roster.
The pairing order is unclear. Retrace the route from its first pairing. Check which parents are available, what Pal the pairing produces, and whether that result is used in the next step. A parent needed later may depend on an earlier pairing.
The calculator’s data or settings may not match your game context. Review the tool’s options and any explanation of its breeding data. If a pairing seems unexpected, verify the listed parents and resulting Pal before relying on that step.
These checks can help explain why a displayed path does not fit your collection or expectations. Verify each pairing before acting rather than assuming the calculator’s result applies as shown.
A repeatable workflow
Use the calculator as a clear, manageable way to compare routes—not as a reason to skip checking the details. Follow the same sequence each time:
- Choose a calculator that supports your target and shows the intermediate pairings in a route.
- Set the Pal you want to breed as the target. Check that you selected the intended Pal before continuing.
- Add the Pals you can actually use as starting parents. Review the list so the result reflects your collection.
- Inspect the route from the first pairing to the target. Note which Pal each pairing produces and how that result is used in the next step.
- Compare the shortest route with alternatives. Consider which required parents you already have and how many intermediate results you would need to produce.
- Verify each pairing and the calculator’s relevant settings against your game context before acting. If a step is unclear, check it rather than assuming the route applies as shown.
Keeping the target, starting roster, and pairing order clear makes the results easier to assess. You can then choose a route that fits your actual collection, rather than relying on step count alone.
Use the calculator’s shortest route as a starting point, not an automatic choice. The fewest-step path may be convenient if its required parents are already in your collection, but another route may be more practical if it begins with Pals you can use now. Compare the parent requirements and intermediate results for each option, then choose the sequence that best fits your actual starting roster.
Before committing, make sure you understand the pairing order and can verify each step using the calculator’s data and settings. A route is useful when it is both manageable for you and supported by results you can check. Take a moment to review it before you begin breeding.